Whether you’re making handmade cards, scrapbooking treasured memories, creating paper flowers, or tackling intricate die-cut projects, having a dedicated paper craft workspace can completely transform your creative experience. An organized, functional craft room doesn’t just look beautiful—it helps you spend less time searching for supplies and more time creating.
The perfect paper crafting workspace is about more than a pretty desk. It’s about designing a space that supports your creative process, keeps your favorite tools within reach, and makes cleanup quick and stress-free. Whether you’re working with an entire craft room or carving out one corner of a spare bedroom, thoughtful organization can make every crafting session more enjoyable.
In this guide, we’ll walk through the essential elements of a well-designed paper crafting workspace, from choosing the right furniture to organizing supplies and maximizing efficiency. By the end, you’ll have plenty of inspiration and practical ideas to create a craft room that is both beautiful and highly functional.
1. Start with the Right Craft Table
Your work surface is the heart of your paper crafting space. Since many paper crafting projects involve measuring, cutting, gluing, stamping, and assembling, choosing the right table can make a noticeable difference in both comfort and productivity.
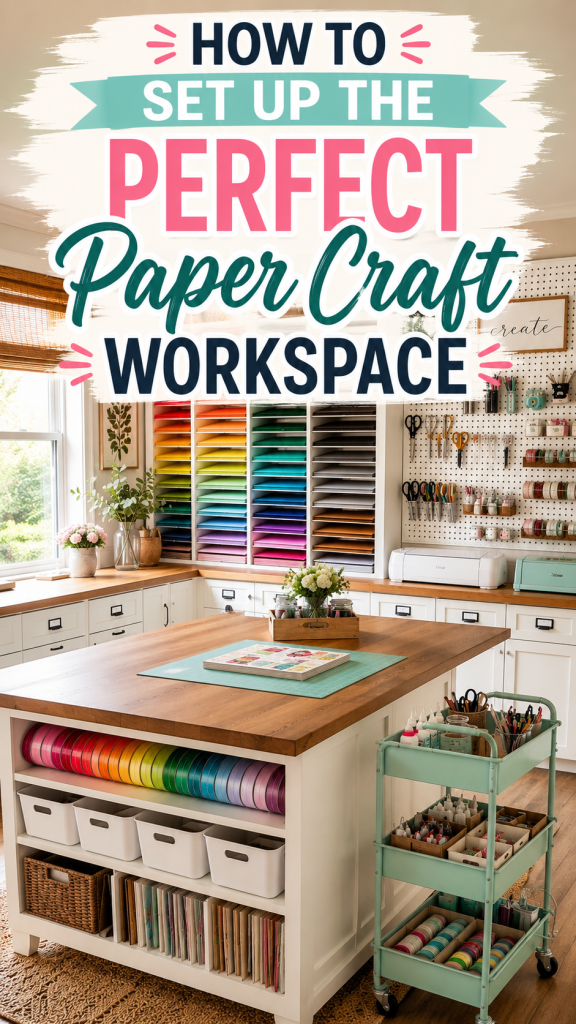
Look for a sturdy table with plenty of surface area so you can spread out multiple projects without feeling cramped. A smooth, easy-to-clean finish is ideal for handling adhesives, inks, paints, and other crafting materials. If your room allows, consider positioning your table in the center of the space so you can access supplies from every side.
Best Practices
- Choose the largest work surface your room comfortably allows.
- Select a table height that’s comfortable for long crafting sessions.
- Protect your tabletop with a large self-healing cutting mat that doubles as a measuring surface.
Helpful Tip
If you frequently film tutorials or photograph your projects, position your work table near a window for beautiful natural lighting during the day.
2. Organize Supplies Around Your Crafting Workflow
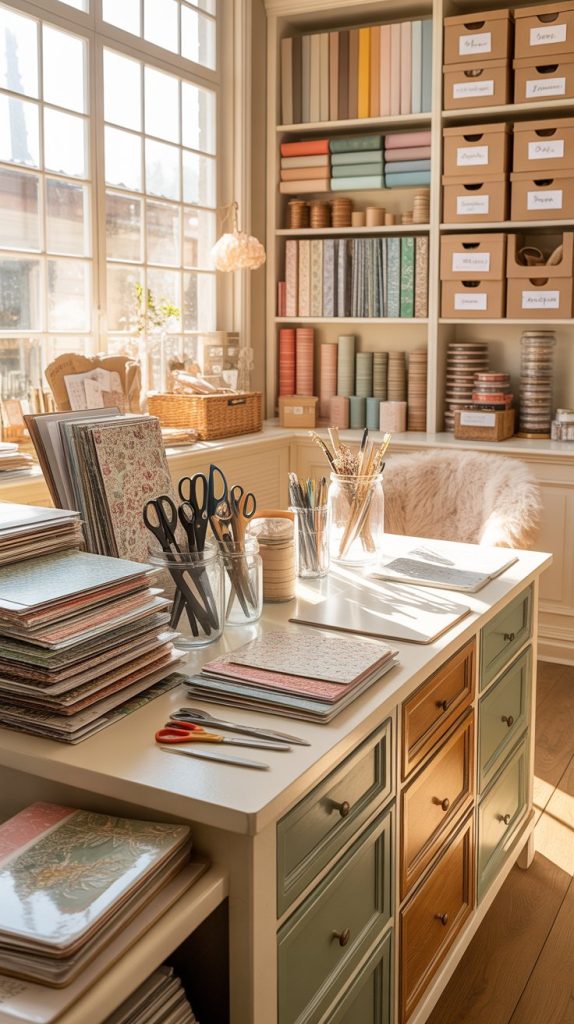
One of the biggest mistakes crafters make is organizing supplies strictly by category instead of by how they actually create. While it’s tempting to keep all adhesives together or dedicate one drawer to every type of tool, you’ll enjoy a much smoother crafting experience if your workspace is organized around your natural workflow.
Think about the order you typically complete a project. For many paper crafters, it might look something like this:
Choose paper → Trim and score → Stamp or stencil → Die cut or emboss → Color → Assemble → Add embellishments → Photograph or package the finished project.
When your supplies are arranged to match this sequence, you spend less time getting up, searching through drawers, or interrupting your creative flow.
For example, keep your cardstock storage close to your paper trimmer, place stamps and ink pads beside your stamping area, and store adhesives and embellishments near the spot where you assemble your projects. Even small adjustments like these can make crafting feel more intuitive and enjoyable.
A designated “project zone” is also incredibly helpful. Leave enough open workspace to spread out the supplies for your current project without mixing them with your everyday storage. If possible, avoid putting everything away between crafting sessions—using a rolling cart or project tray lets you easily pick up where you left off.
Maximize Vertical Storage
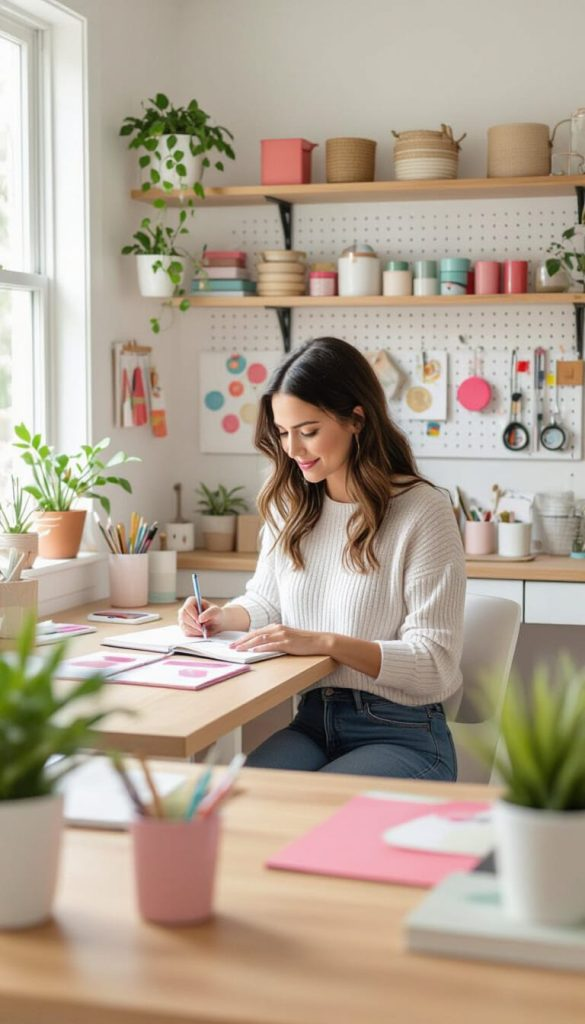
Don’t overlook the wall space above your work surface. Pegboards, wall grids, or slat wall systems can keep your most-used tools visible and within arm’s reach while freeing up valuable desk space.
Consider hanging frequently used items such as:
- Scissors and detail snips
- Bone folders and scoring tools
- Tweezers and craft picks
- Small rulers and measuring tools
- Die brushes and poking tools
- Washi tape rolls
- Frequently used punches
- Small baskets for markers, glue pens, or blending brushes
Because everything is visible, you’ll spend less time searching for tools and more time creating.
Keep Adhesives Ready to Grab
Adhesives are among the most frequently used supplies in paper crafting, so they deserve a dedicated home close to your assembly area.
Many crafters find it helpful to keep a desktop organizer or divided caddy stocked with their favorite adhesives, including:
- Tape runners
- Liquid glue
- Foam tape
- Glue dots
- Double-sided tape
- Precision glue pens
If you use rolls of double-sided tape regularly, a weighted desktop tape dispenser or washi tape cutter can make one-handed dispensing much easier and keep your workspace looking tidy.
Best Practices
- Arrange supplies in the order you naturally use them during a project.
- Store your most-used tools within arm’s reach of your primary workspace.
- Use pegboards or wall organizers to free up valuable desktop space.
- Create a dedicated adhesive station so your favorite products are always easy to access.
- Keep an open “working zone” on your desk for projects in progress.
Recommended Organization Tools
- Pegboard or slat wall organization system
- Clear drawer units
- Vertical cardstock organizers
- Rolling craft cart for current projects
- Desktop adhesive caddy or divided organizer
- Weighted tape dispenser
- Label maker
- Stackable bins for embellishments and die cuts
3. Create Excellent Lighting for Accurate Color and Detail
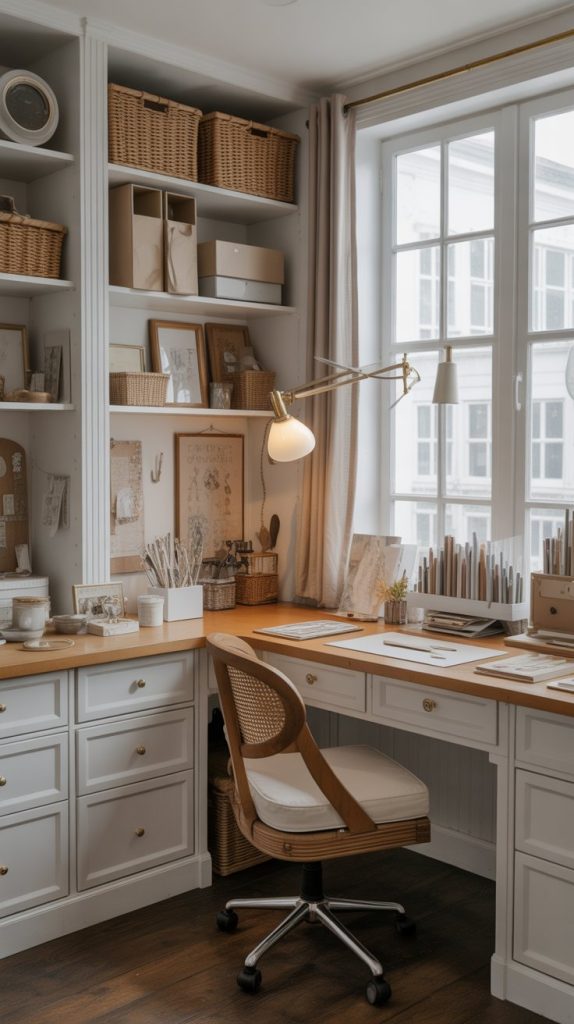
Lighting is one of the most overlooked parts of a craft room, yet it’s one of the most important. Good lighting reduces eye strain, improves color accuracy, and helps you see intricate details while cutting, coloring, or assembling projects.
Whenever possible, position your workspace near natural light. Supplement daylight with adjustable LED task lighting that provides bright, neutral illumination. Many crafters also benefit from overhead lighting combined with an articulating desk lamp that can be directed exactly where it’s needed.
If you frequently create content for social media or a blog, consistent lighting also improves your project photography.
Best Practices
- Use daylight-balanced LED bulbs (around 5000K) for true color accuracy.
- Add an adjustable task lamp to eliminate shadows while crafting.
- Combine overhead lighting with focused task lighting for the most comfortable workspace.
Helpful Resources
Consider adding:
- An adjustable architect-style desk lamp
- Under-cabinet LED lighting for shelving
- A ring light or overhead camera light if you create tutorials or product photos
4. Store Paper and Cardstock So It’s Easy to See and Reach
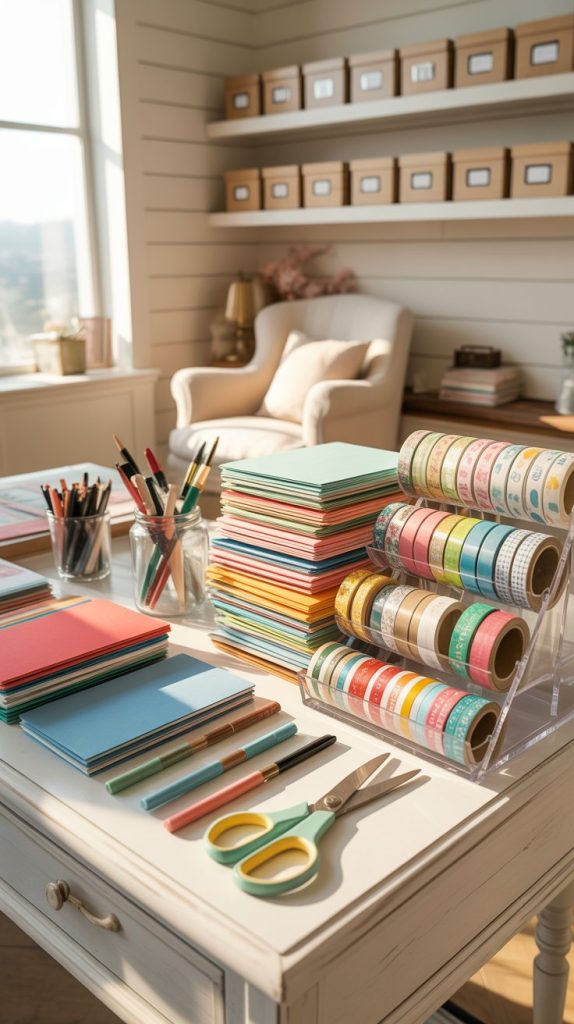
For most paper crafters, paper is the largest—and often the most abundant—supply in the craft room. Without a thoughtful storage system, stacks of cardstock, patterned paper, and specialty papers can quickly become overwhelming. The key is to make your collection easy to browse so you’re inspired to use what you have instead of forgetting about it.
Vertical storage is one of the best solutions for keeping paper organized. Unlike stacked piles, vertical organizers allow you to flip through papers much like files in a filing cabinet. This makes it easier to compare colors and patterns while reducing the risk of bent corners or damaged sheets.
Consider organizing your paper in a way that matches how you craft. Solid cardstock can be sorted by color family or brand, while patterned paper can be grouped by collection, theme, season, or manufacturer. If you frequently purchase coordinating paper packs, keeping each collection together makes it simple to pull everything you need for a cohesive project.
Specialty papers—such as vellum, glitter cardstock, metallic papers, acetate, and watercolor paper—deserve their own labeled sections so they’re protected and easy to find when inspiration strikes.
Best Practices
- Store paper vertically whenever possible to make browsing easier.
- Separate cardstock, patterned paper, and specialty papers into distinct categories.
- Label shelves or dividers by color, collection, or theme.
- Rotate seasonal papers to more accessible locations throughout the year.
Helpful Storage Ideas
- Cube shelving with paper trays
- Vertical paper organizers
- Magazine files for paper collections
- Expandable file boxes for specialty papers
- Large labeled bins for oversized paper pads
5. Give Your Machines and Tools Dedicated Homes
Paper crafting often involves a variety of machines and specialty tools—from die-cutting and embossing machines to laminators, foil systems, heat tools, and sewing machines. While these tools can elevate your projects, they also take up valuable space if they’re not stored intentionally.
If you use a machine during nearly every crafting session, consider giving it a permanent home on your work surface or a nearby side table. Keeping frequently used equipment ready to go eliminates the hassle of lifting heavy machines in and out of storage, making you more likely to use them.
Larger or less frequently used machines can be stored on sturdy rolling carts or lower shelving where they’re easy to access but don’t crowd your primary workspace.
Smaller hand tools deserve just as much attention. Drawer dividers, acrylic organizers, and labeled containers help keep scoring tools, blending brushes, craft knives, embossing folders, dies, and stamps neatly arranged. Many crafters also find magnetic storage panels or labeled binders helpful for organizing metal dies, making it easy to see every design at a glance.
Don’t forget to think about cords and accessories. Keeping power cords bundled with reusable cable ties or stored in labeled pouches prevents tangled messes and makes setup much faster.
Best Practices
- Leave frequently used machines set up whenever space allows.
- Store heavier equipment on lower shelves or rolling carts for easier access.
- Organize dies, embossing folders, and stamps in labeled systems that let you quickly see your collection.
- Keep accessories and cords stored with the machine they belong to.
Recommended Organization Tools
- Rolling utility carts
- Magnetic die storage boards or binders
- Clear embossing folder organizers
- Drawer dividers
- Cable organizers and reusable cord ties
- Label maker for machine accessories
6. Design a Workspace That Inspires Creativity
Organization is important, but your craft room should also be a place where you genuinely enjoy spending time. A welcoming, personalized workspace can spark creativity and encourage you to sit down and create more often.
Start by keeping your desk as clutter-free as possible. Reserve the work surface for your current project and the tools you’re actively using, while storing everything else in designated homes. A tidy workspace makes it easier to focus and leaves room for creative experimentation.
One of the most inspiring trends in craft room organization is arranging supplies by color. Organizing cardstock, patterned paper, ink pads, ribbon, washi tape, markers, or embellishments in rainbow order creates an eye-catching display that is both beautiful and practical. Not only does it instantly brighten your craft room, but it also makes coordinating colors for your projects much faster. Open shelving, clear bins, and paper organizers are perfect for showcasing colorful supplies while keeping them easy to access.
You can also display finished cards, scrapbook layouts, paper flowers, or framed projects you’ve created. Hang an inspiration board with color palettes, magazine clippings, sketches, or project ideas you’d like to try. Even something as simple as a favorite quote, fresh flowers, or a beautiful lamp can make your craft room feel more inviting and uniquely yours.
Comfort matters, too. Since many crafting sessions last several hours, invest in a supportive chair and consider adding an anti-fatigue mat if you often stand while using your paper trimmer or die-cutting machine. A comfortable workspace makes it easier to enjoy your hobby without unnecessary strain.
Finally, build a simple reset routine into the end of each crafting session. Spending just five or ten minutes returning supplies to their designated spots means you’ll always be ready to jump into your next project without feeling overwhelmed by yesterday’s mess.
Best Practices
- Keep your primary workspace clear except for active projects.
- Organize colorful supplies like paper, cardstock, washi tape, ribbon, and ink pads in rainbow order for both beauty and function.
- Display finished projects to celebrate your creativity and inspire future ideas.
- Choose comfortable seating and ergonomic accessories for longer crafting sessions.
- End every crafting session with a quick five-minute cleanup.
Creative Touches to Consider
- Rainbow-organized paper storage
- Color-coordinated washi tape displays
- Open shelving with neatly arranged cardstock
- Framed handmade cards or scrapbook pages
- Seasonal paper craft displays
- Decorative storage baskets
- Bulletin board or inspiration wall
- Small plants or fresh flowers
- Soft task lighting for a warm, inviting atmosphere
🛍️ Favorite Supplies for Paper Crafters
These are a few simple tools that make paper crafting so much easier and more enjoyable:
- A vertical paper organizer (keeps everything visible and wrinkle-free)
- A rotating desktop caddy for scissors, pens, and adhesives
- A paper trimmer for clean, quick cuts
- Clear drawer organizers for smaller tools and embellishments
- A multi-roll tape dispenser to make it easy to grab the right washi tape
Pro Tips for Creating a Craft Room You’ll Love for Years
Designing the perfect paper craft workspace doesn’t have to happen all at once. In fact, many experienced crafters will tell you that the best craft rooms evolve over time. As your hobbies grow and your collection expands, your storage and organization systems can grow with you.
Keep these tips in mind as you refine your space:
Invest in Storage Before You Need It
If you’re just starting to build your paper crafting collection, choose storage solutions with room to grow. Empty bins and shelves won’t stay empty for long, and having extra capacity will help prevent clutter from taking over.
Edit Your Supplies Occasionally
Every few months, take a fresh look at your stash. Donate duplicate tools, papers you’ll never use, or products you’ve outgrown. Keeping only the supplies you truly enjoy using makes your workspace feel more manageable and inspiring.
Think Flexible, Not Perfect
Your crafting interests may change over time. Today you might love card making, while next year you may dive into junk journaling, scrapbook layouts, paper flowers, or mixed media art. Modular shelving, rolling carts, and adjustable organizers make it easy to adapt your craft room as your hobbies evolve.
Make Cleanup Part of Your Creative Routine
One of the best habits you can develop is spending just five minutes tidying up after each crafting session. Returning tools to their designated homes means your next creative session starts with inspiration—not cleanup.
Frequently Asked Questions
What is the best desk for paper crafting?
Look for a sturdy desk with a large, durable work surface that gives you plenty of room to spread out your supplies. Many paper crafters also prefer tables with built-in drawers or nearby storage to keep frequently used tools within easy reach.
How should I organize cardstock?
Vertical storage is generally the easiest way to organize cardstock because you can quickly flip through colors without disturbing the entire stack. Many crafters sort cardstock by color family, while others organize by brand or paper weight.
How much lighting does a craft room need?
Natural daylight is ideal whenever possible, but combining overhead lighting with a daylight-balanced LED task lamp provides excellent visibility for detailed work and accurate color matching.
What’s the easiest way to organize small embellishments?
Clear divided containers, drawer organizers, and labeled bins work well for storing gems, sequins, enamel dots, buttons, die cuts, and other small embellishments. Transparent containers make it easy to see what you have before starting a project.
How do I keep my craft room from becoming cluttered?
The secret is giving every supply a designated home and returning items after each crafting session. Regularly decluttering and organizing supplies by workflow instead of simply by category can also make your workspace much easier to maintain.
Is it worth organizing supplies by color?
Absolutely. Organizing colorful supplies like cardstock, washi tape, ribbon, markers, and ink pads in rainbow order isn’t just visually appealing—it also makes it easier to compare shades and pull together cohesive color palettes for your projects. It’s a favorite organization strategy among many paper crafters because it’s both practical and beautiful.
Final Thoughts
The perfect paper craft workspace isn’t about having the biggest craft room or the most expensive furniture. It’s about creating a space that supports your creativity, keeps your favorite supplies within easy reach, and inspires you to sit down and make something beautiful.
By choosing a functional work surface, organizing supplies around your natural workflow, maximizing storage, and adding personal touches that make you smile, you can create a craft room that’s as enjoyable to work in as it is to look at.
Remember, your craft room doesn’t have to be finished overnight. Start with one area at a time, experiment with organization systems that fit your style, and let your workspace evolve as your creativity grows. Before long, you’ll have a paper crafting space that’s not only efficient and organized but also a reflection of your own unique creative personality.