Introduction: How to Create Your Own Holiday Candle Collection
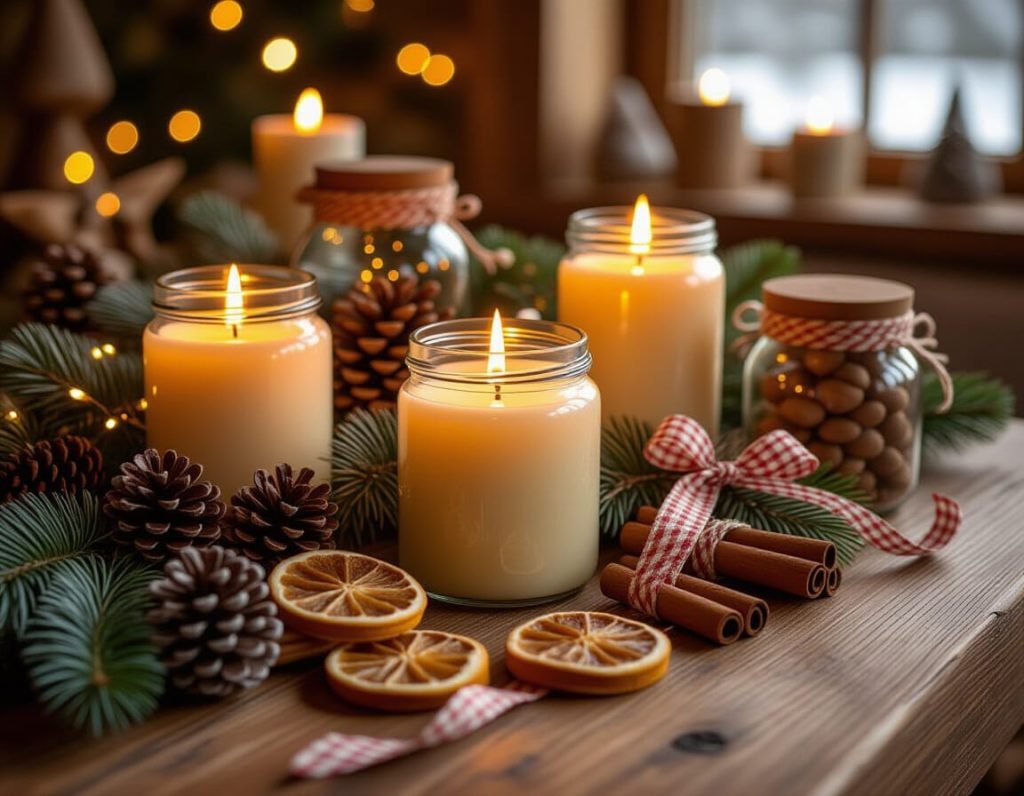
There’s something magical about the soft flicker of candlelight during the holidays — the way it warms up a room, adds a cozy glow to winter nights, and fills the air with comforting scents like pine, cinnamon, and vanilla. Creating your own holiday candle collection isn’t just a fun DIY project — it’s a way to bring personal style and seasonal spirit into your home, one handmade candle at a time.
Whether you’re dreaming of classic red and gold votives, nature-inspired soy candles with dried citrus and herbs, or elegant frosted jars perfect for gifting, this guide will walk you through how to design, pour, and style a cohesive candle collection that feels like you.
By the end, you’ll have a set of beautifully customized candles ready to light up your home — or wrap up as thoughtful handmade gifts that smell just like the holidays.
1. Choose Your Signature Holiday Scents
The scent is what instantly sets the mood for your entire collection. Think about what the holidays feel like to you — maybe it’s baking in the kitchen, walking through snowy pine trees, or cozying up by the fire. Build your candle theme around those feelings.
Inspiration for Scent Palettes
- Classic Christmas: Fir needle, cinnamon stick, orange peel, and clove.
- Cozy Cabin: Cedarwood, amber, vanilla, and smoked birch.
- Sweet Holiday Treats: Brown sugar, gingerbread, peppermint, and buttercream.
- Winter Spa: White tea, eucalyptus, and soft pine for a cleaner, modern vibe.
Helpful Tips
- Mix oils carefully and test in small batches. A good starting point is 1 oz of fragrance per 1 lb of wax (adjust based on intensity).
- Record your blends and ratios in a notebook — you’ll thank yourself later!
- Stick with candle-safe fragrance oils from reputable suppliers like CandleScience, Lone Star Candle Supply, or Nature’s Garden.
- If you prefer essential oils, combine complementary scents like orange + clove, or peppermint + vanilla, but know they may produce a lighter throw.
Supplies to Have on Hand
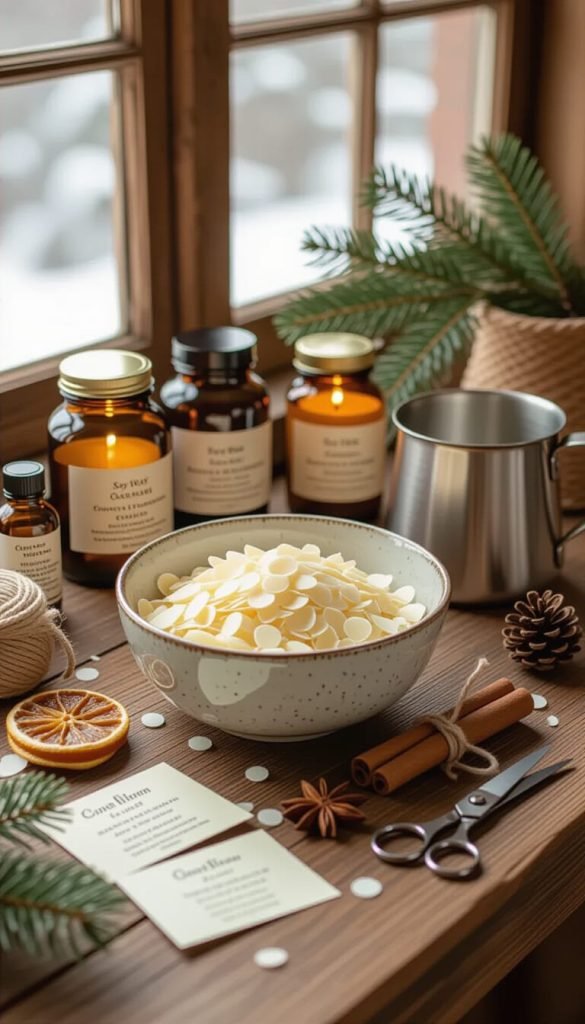
- Candle-safe fragrance oils or essential oils
- Small glass jars or vials for scent testing
- Droppers or pipettes for precise measuring
- Labels or notecards for naming your blends
Pro Tip: Create a “scent map” — group your chosen fragrances into top, middle, and base notes to ensure your final blend feels balanced and layered, not overwhelming.
2. Pick Containers That Match Your Aesthetic
Your containers define the visual personality of your collection — think of them like your candles’ “outfits.” You can create a cohesive look even with mixed materials, as long as you keep one design element consistent (like color palette, texture, or label style).
Container Ideas
- Rustic: Amber jars, metal tins, small clay pots, or ceramic crocks.
- Elegant: Clear or frosted glass vessels with gold or silver lids.
- Playful: Vintage teacups, recycled wine glasses, or holiday mugs.
Helpful Tips
- Always ensure containers are heat-resistant and crack-free.
- Avoid thin glass like mason jars not rated for heat — use candle-safe glassware.
- If reusing old jars, clean thoroughly with hot soapy water and rubbing alcohol.
- Stick small wick stickers or hot glue dots to anchor wicks to the bottom before pouring wax.
Supplies to Have on Hand
- Candle-safe containers or jars
- Wick stickers or glue dots
- Rubbing alcohol and paper towels for cleaning
- Optional: gold paint pens, ribbons, twine, or charms for finishing touches
Pro Tip: Choose containers that are easy to repurpose once the candle burns out — this makes your collection feel sustainable and thoughtful.
3. Select the Right Wax and Wicks
The wax and wick pairing determines how your candles burn, how well they hold fragrance, and even how they look when lit. Choosing the right combination is key to getting a professional result.
Wax Options
- Soy Wax: Renewable, long-lasting, and smooth — great for beginners.
- Coconut Soy Blends: Luxurious texture and excellent scent throw.
- Beeswax: Natural golden color, minimal scent, and a long burn time.
- Paraffin: Traditional, inexpensive, and holds vibrant colors well (though less eco-friendly).
Wick Options
- Cotton Wicks: Reliable, clean-burning, and available in many thicknesses.
- Wooden Wicks: Create a cozy crackle; ideal for rustic or luxe collections.
Match your wick size to your container diameter — too small and it tunnels, too large and it smokes. Most candle supply sites include charts to help you select the right size.
Helpful Tips
- Melt wax slowly using a double boiler or a dedicated candle melting pot.
- Stir in fragrance oils once wax cools slightly (around 175°F for soy).
- Pour wax gently into containers to prevent air bubbles.
- Allow candles to cure for at least 3–7 days before lighting — this helps the fragrance fully set.
Supplies to Have on Hand
- Wax (soy, coconut, or blend)
- Candle wicks (pre-tabbed preferred)
- Thermometer
- Pouring pot or double boiler
- Wick holders or centering tools
- Digital scale for measuring wax and fragrance
Pro Tip: Keep a few testers from each batch. Burn them fully and observe how they perform — you’ll quickly learn what wax-to-wick combinations give the most even, long-lasting burn.
4. Decorate and Label Your Candles
The hard work is done and it’s time for the fun part – this is where your candle collection truly comes to life — the visual styling. Labels, trims, and finishing touches transform a simple candle into something that feels boutique-quality and gift-worthy.
Label Design Ideas
- Minimal & Modern: White label with black serif text and simple scent names like Winter Woods or Cozy Hearth. If you’re giving them as gifts, include a “hand-poured by” line or note about your fragrance blend — it makes them feel extra personal.
- Rustic & Natural: Kraft paper labels tied with jute twine, stamped or handwritten names.
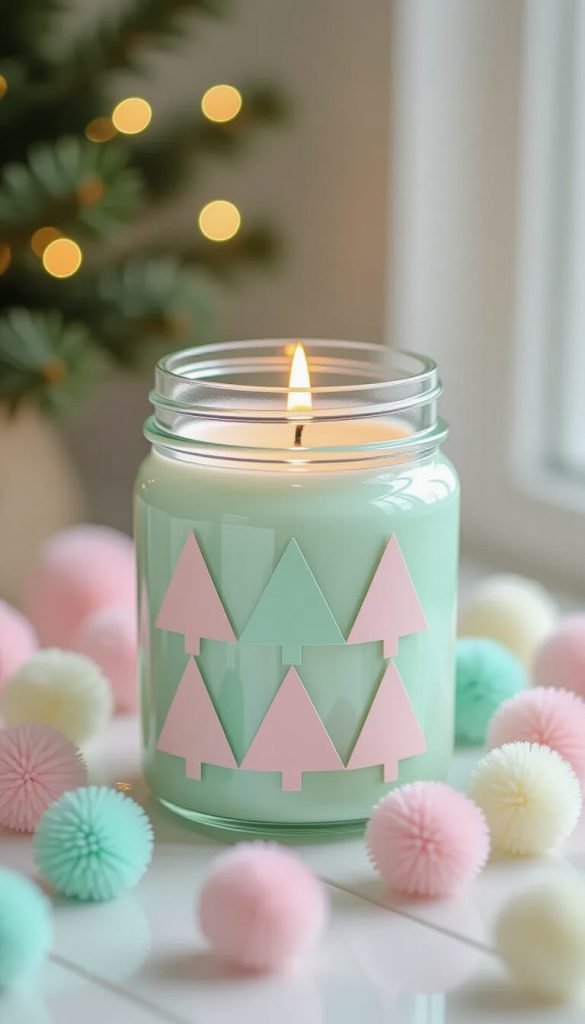
- Whimsical & Festive: Use printable sticker paper and add small illustrations like stars, holly, or snowflakes. Or try cutting washi tape into triangles to make a tree forest design.
Decoration Ideas
- Tie thick, ornate ribbons around the jar.
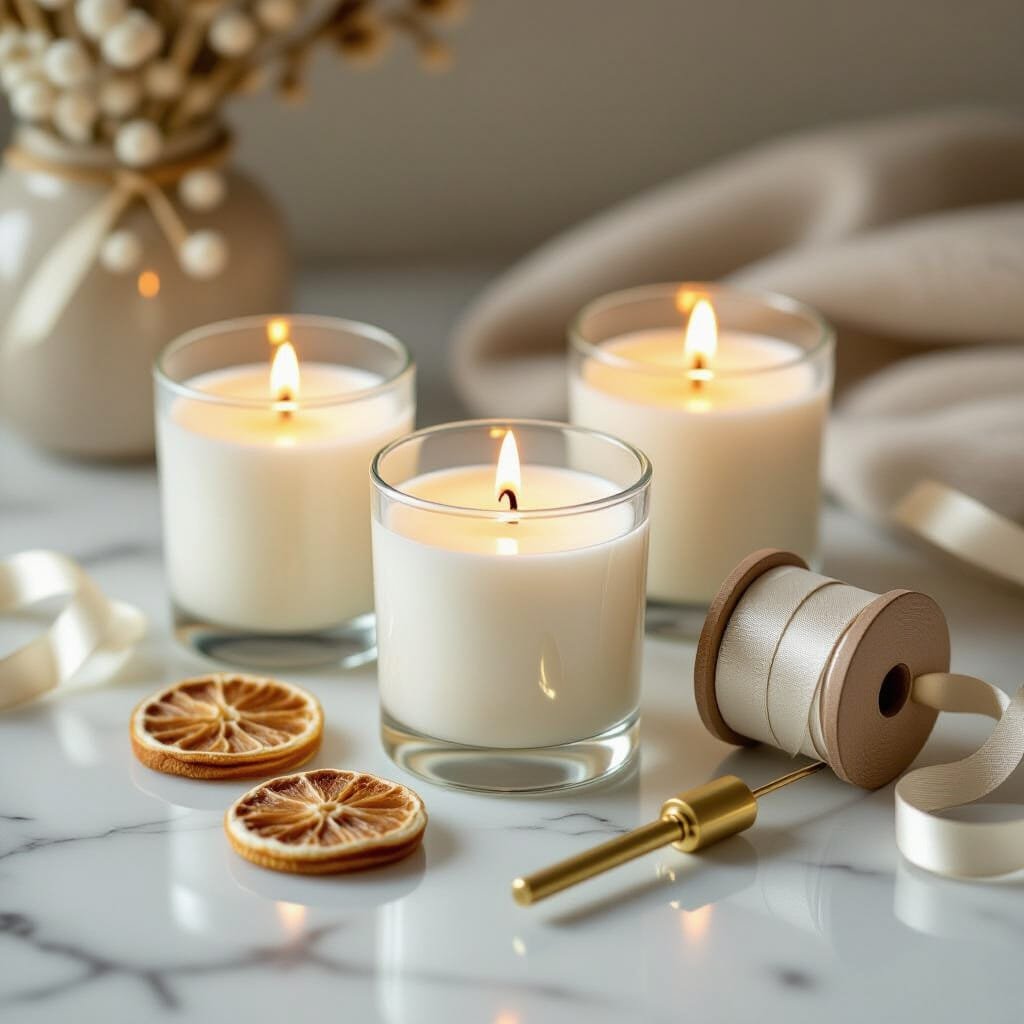
- Add a small dried orange slice, wrap the jar with cinnamon sticks, or sprig of rosemary for a natural accent.
- Use gold paint pens or metallic wax seals for an elegant touch.
- Cut washi tape into triangles to make a tree forest design.
Supplies to Have on Hand
- Printable sticker paper or custom label sheets
- Washi tape
- Twine, ribbon, or raffia
- Scissors and hot glue gun
- Optional: wax seals, gold leaf, small dried herbs or citrus slices
Pro Tip: Design your labels to coordinate as a set — use the same font and layout but vary the background color or icon for each scent. This creates instant brand cohesion if you photograph or gift them as a group.
5. Package or Gift Them Beautifully
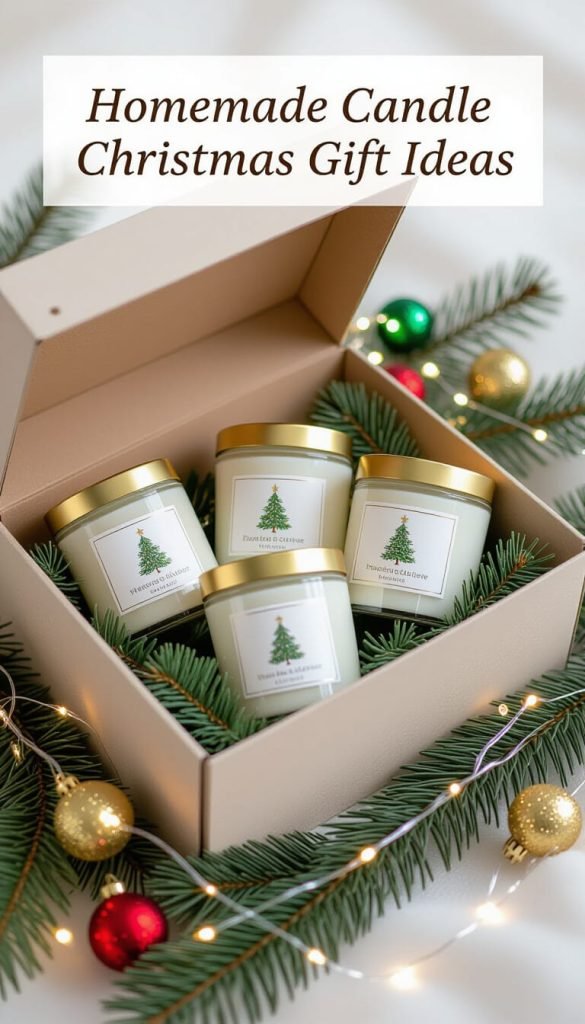
A cohesive candle collection deserves presentation that matches its charm. Whether you’re gifting to loved ones or displaying them in your home, thoughtful packaging enhances the experience.
Packaging Ideas
- Gift Box Set: Arrange three to four candles in a small box lined with kraft paper, shredded filler, or velvet ribbon.
- Single Candle Wrap: Slip each candle into a drawstring linen or velvet bag. Add a tag with scent name and short description.
- Holiday Basket: Combine candles with a mug, cocoa packet, or cookie mix for a cozy-themed gift basket.
For a polished look, keep your packaging within one color story — perhaps creamy whites, golds, and soft greens for an elegant winter vibe.
Supplies to Have on Hand
- Small boxes, gift bags, or baskets
- Shredded paper filler or tissue
- Gift tags and ribbon
- Optional: sealing wax, washi tape, or printed scent cards
Pro Tip: Photograph your packaged sets in soft natural light with greenery or candles in the background — these images are perfect for Pinterest or Etsy listings if you decide to sell them later.
6. Display and Enjoy Your Candle Collection
Once your candles are poured, labeled, and styled, it’s time to show them off. Whether you’re decorating for the season or creating a cozy ambiance for guests, your homemade candles can double as beautiful décor.
Display Ideas
- Group candles on a tray or mantel with pine branches, berries, and metallic accents.
- Create a “scent bar” on a sideboard with small jars labeled by fragrance — guests can choose their favorite to light.
- Mix candle sizes on a holiday tablescape, alternating heights for a glowing centerpiece.
- Style one or two in your entryway or bathroom to bring seasonal scent to overlooked spaces.
Helpful Tips
- Always burn candles on a heat-safe surface away from drafts or flammable materials.
- Rotate which ones you light to keep your collection looking even.
- Reuse the jars afterward for storage or to pour next season’s scents.
Pro Tip: Display your full candle collection in one area (like a coffee table or console) for the holidays — it looks intentional and creates a signature scent that defines your space each winter.
Troubleshooting Common Candle-Making Issues
Even experienced candle makers run into small hiccups, especially when experimenting with new waxes, wicks, or fragrances. Here’s how to fix (and prevent) the most common problems so your holiday candles look and burn beautifully every time.
1. Uneven or “Tunneled” Burning
The issue: The candle burns straight down the middle, leaving wax around the edges.
The fix:
- Make sure the wick size matches your jar diameter.
- Allow your candle to burn long enough (usually 2–4 hours) the first time so the entire top layer melts edge to edge — this sets the “memory burn.”
- If tunneling has already happened, use a hair dryer on low to gently melt and even out the surface before relighting.
2. Weak Scent Throw
The issue: Your candle doesn’t smell strong enough when burning.
The fix:
- Use candle-safe fragrance oils at the recommended ratio (typically 6–10%).
- Let candles cure for 5–7 days after pouring before lighting — scent intensifies over time.
- Try soy-coconut blends for better fragrance diffusion, or switch to wooden wicks that burn hotter.
3. Cracked or Frosted Tops
The issue: The top surface cools unevenly and forms cracks or a frosty, white film.
The fix:
- Pour wax slowly and at the correct temperature (around 120–135°F for soy).
- Allow candles to cool slowly at room temperature — don’t place them near windows or fans.
- Use a heat gun to gently re-melt the top layer for a smooth, polished finish.
4. Wick Won’t Stay Centered
The issue: The wick drifts off to one side as the wax sets.
The fix:
- Secure wicks to the jar bottom using glue dots or wick stickers.
- Use wick holders, chopsticks, or clothespins laid across the jar top to keep wicks straight while the wax cools.
5. Soot or Smoking
The issue: Black residue appears on the jar or smoke rises while burning.
The fix:
- Trim your wick to ¼ inch before every burn.
- Avoid drafts or fans near your burning candle.
- Double-check that your wick isn’t too large for your container.
Pro Tip: Keep a small “testing notebook” for every batch you make — record your wax type, scent, wick size, and any issues. Troubleshooting becomes much easier when you can see your past experiments in one place.
FAQ: Holiday Candle Collection
Q: How long should I let my candles cure before lighting or gifting?
A: Ideally, let them cure for at least 3–7 days (soy and coconut blends benefit from a full week). This helps the fragrance bind fully with the wax for a stronger scent throw.
Q: Can I mix essential oils and fragrance oils together?
A: Yes, but start small — essential oils can be subtle or volatile. Combining them with candle-safe fragrance oils can give a more complex, lasting aroma.
Q: What’s the best wax for beginners?
A: Soy wax is the easiest and most forgiving. It melts evenly, is eco-friendly, and holds scent well.
Q: Why does my candle look bumpy after cooling?
A: Uneven cooling or over-stirring can cause this. Pour wax slowly and avoid moving the jars until they’ve fully set. A quick pass with a heat gun can smooth out the surface.
Q: How can I make my candles look more professional?
A: Focus on the finishing details — clean jars, matching labels, and consistent color palettes. Photograph them in natural light for that polished, boutique feel.
Q: Can I reuse leftover wax from old candles?
A: Absolutely! Melt it down, strain out debris, and repour into a new jar with a fresh wick. Just keep similar scents together to avoid muddled results.
Conclusion: A Warm Glow for the Season Ahead
Creating your own holiday candle collection is more than a cozy craft — it’s a way to infuse your home with memories, creativity, and comfort that lingers long after the holidays end. Each candle tells a story through its scent, color, and glow — whether it’s the nostalgic warmth of vanilla spice or the crisp freshness of pine after snow.
Once you’ve poured, cured, and styled your collection, light a few throughout your home and savor the cozy atmosphere you’ve created. Or wrap them up as heartfelt handmade gifts — a little reminder that joy, warmth, and creativity are the best things to share this season.
So gather your jars, scents, and ribbons — and start your own holiday tradition, one candle at a time.