Note: this post contains affiliate links. I may earn a small commission if you purchase through these links.
Welcome to the Craft Room Makeover Series
Welcome to the first post in my Craft Room Makeover Series — where we’re turning creative chaos into a space that feels joyful, inspiring, and actually easy to use. Because let’s be honest… crafting is a lot more fun when you’re not digging through three different rooms just to find your scissors.
(Ask me how I know 😅)
For the longest time, my supplies were everywhere — tucked into kitchen cabinets, hallway closets, random bins in the playroom. It worked… technically. But every project started with a scavenger hunt, and that’s not exactly the creative vibe I was going for.
So I did what most of us do: I went out and bought a cart full of pretty organizers.
And it didn’t fix anything.
Because here’s the truth no one tells you before you swipe your card at The Container Store: buying organizers first is almost always a mistake. Containers should fit your home and your habits — not the other way around. If you buy the bins before you know what you actually own, how you actually craft, and how your space actually flows, you end up with a beautifully organized system for a life you don’t have.
So before we talk paint colors or pegboards, we’re doing this in the right order. I’m going to walk you through the exact method I use now — I call it the CRAFT Method — to figure out what your space actually needs before you spend a single dollar on storage.
This craft room guide is for you if:
– You’re starting from scratch or feeling overwhelmed-
– Your craft space doubles as another room
– You want a setup that’s functional and joyful
– You’ve bought way too many storage bins and containers but still feel disorganized
– You’re tired of copying Pinterest rooms that don’t actually work
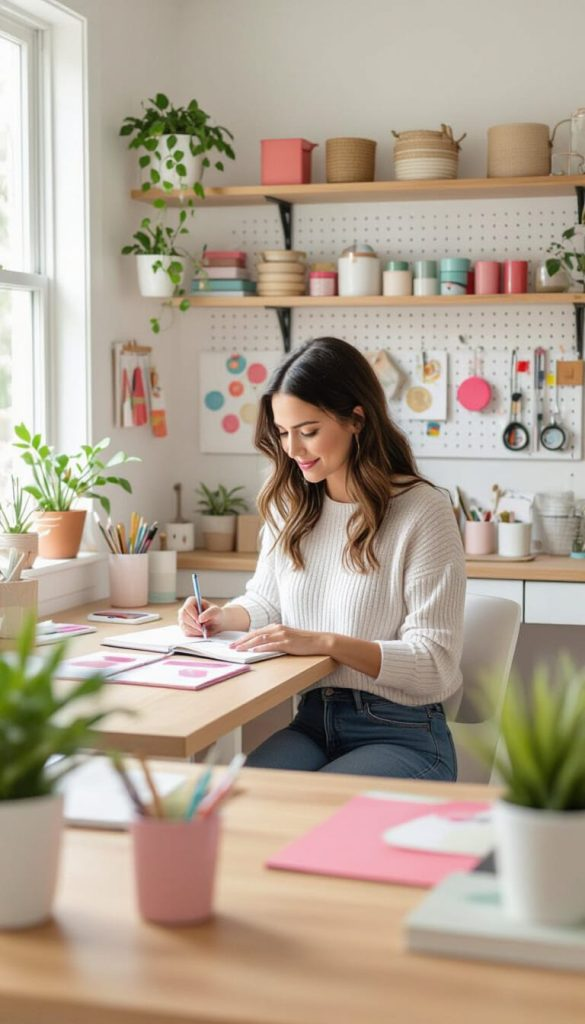
Stop Buying Craft Storage (For Just a Minute)
If your craft supplies are overflowing, it’s incredibly tempting to head straight to Amazon or The Container Store and start filling your cart with bins, baskets, and drawer organizers.
I know, because I’ve done it.
More than once.
The problem? Buying organizers too early often creates beautifully organized clutter. You end up trying to fit your supplies into containers that looked great online instead of creating a system that actually works for the way you craft.
The truth is, most craft room organization problems aren’t caused by a lack of storage. They’re caused by buying storage before understanding what you really need.
A professional organizer would almost always tell you the same thing:
Containers should fit your supplies—not the other way around.
So before you spend another dollar on organizers, take about 20 minutes to work through this simple planning process. By the end, you’ll know exactly what storage solutions will help—and which ones would probably end up collecting dust. I like to think of this process as the CRAFT Method—a simple framework for creating a craft room that supports your creativity instead of getting in its way.
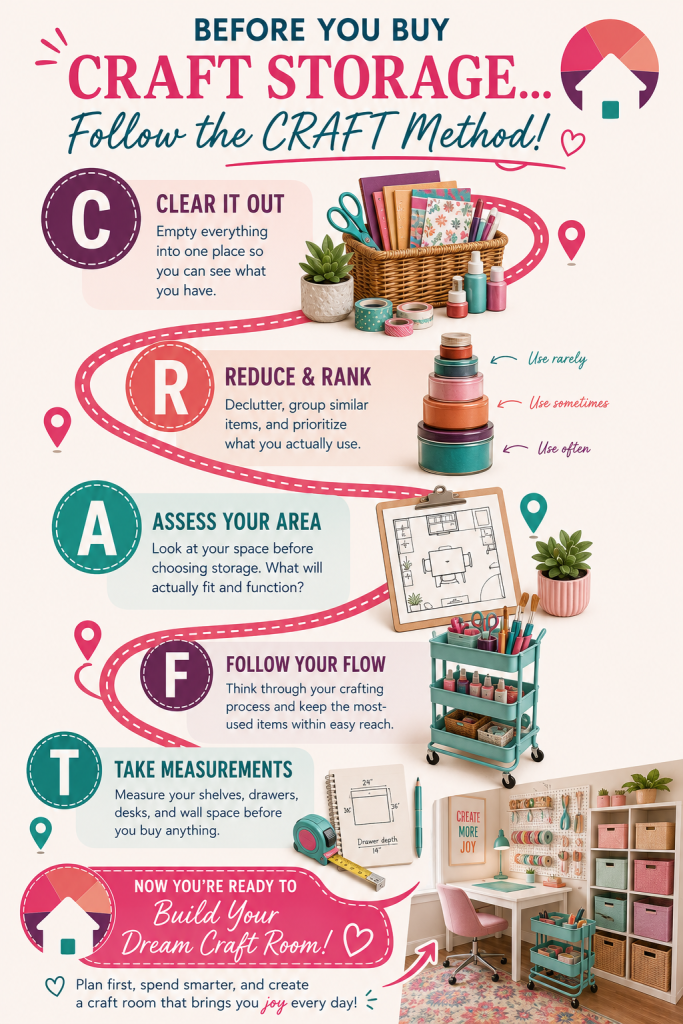
C — Clear It Out
The very first step is also the one that most people want to skip.
Take everything out.
Yes…everything.
Pull supplies out of cabinets, drawers, closets, rolling carts, under-the-bed bins, and that random basket you’ve been meaning to go through “someday.” The goal is to see all of your craft supplies in one place, even if your room looks like a complete disaster for a little while.
This step can feel overwhelming at first, but it’s also incredibly eye-opening.
You might discover:
- Three paper cutters you forgot you owned.
- A dozen bottles of the same paint color.
- Half-finished projects you’ll never finish.
- Supplies for hobbies you haven’t touched in years.
- Items that have been hiding in completely different rooms.
(For me, this was the moment I realized my craft supplies had slowly taken over the house. I had paper tucked into a kitchen cabinet, paint in the playroom closet, ribbon in a bedroom drawer, and glue sticks scattered everywhere in between. No wonder every project started with a scavenger hunt!)
Seeing everything together gives you something you’ve probably never had before: a complete picture of your craft collection.
Don’t worry about organizing yet. Don’t start buying bins. Don’t even think about where everything will go. For now, your only job is to gather it all together. Because you can’t build an organizing system around supplies you don’t even know you own.
💡 Pro Tip
Resist the urge to organize as you empty things. It’s much easier to make good decisions once you can see everything at the same time.
Try this: Set a timer for 20 minutes and empty just one drawer or shelf to start. You don’t have to gut the whole room today — you just have to actually see what’s in it.
R — Reduce & Rank
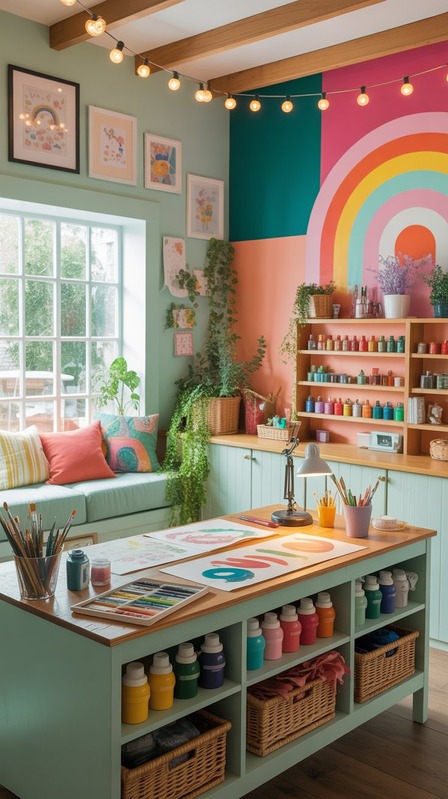
Now that everything’s visible, group like with like — paper, paint, tools, notions, whatever your categories are. As you sort, ask yourself:
- Do I actually use this?
- Do I already own something similar?
- Would I buy this again today?
Maybe you’ve got three pairs of craft scissors but haven’t touched the fancy-edge ones in a year — those can go. Meanwhile, that one glue gun you reach for on every single project? Definite keeper.
Whatever survives the filter, rank it:
- Daily use — the stuff you reach for almost every project
- Weekly use — regulars, but not every session
- Occasional/seasonal — the stuff that comes out a few times a year
This ranking is what tells you where things should live later — not a Pinterest photo, not what looks nice on a shelf.
Try this: Pick your most-used category (paint, paper, yarn — whatever it is) and rank just that pile first. It’s a fast way to see the system work before committing to the whole room.
A — Assess Your Space
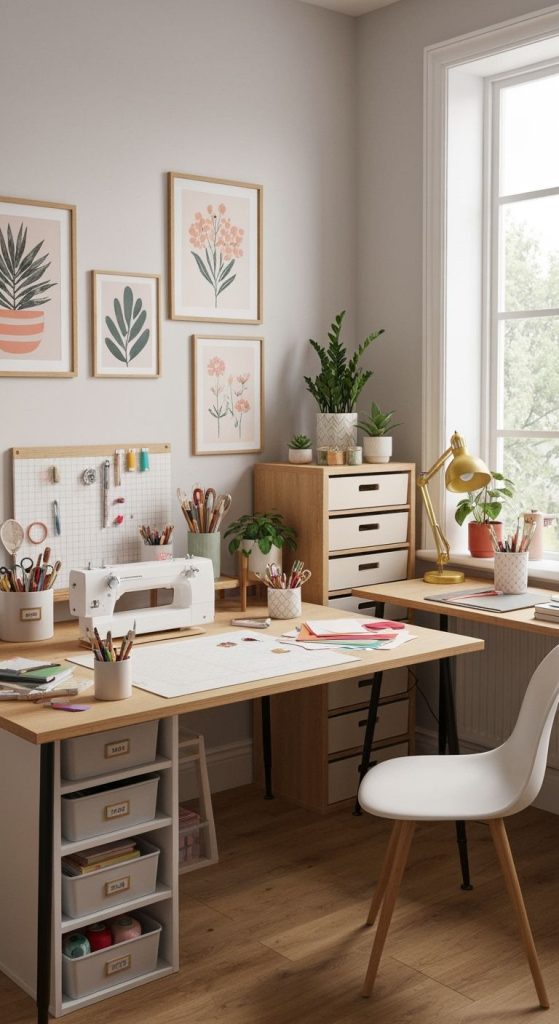
Only now do you look at the room itself — not organizers, the actual room.
- Where’s your best natural light?
- Is there wall space for vertical storage?
- Would open shelves or closed drawers work better for how you like things to look?
- Is there room for a rolling cart, or does everything need to live in one fixed spot?
- Do you need one big open surface, or a few smaller stations?
A paper crafter with a big window and a wide table has very different needs than a jewelry maker working at a small desk under a lamp. This is where you start matching storage types to your room and your ranked supplies — not the other way around.
Try this: Stand in the doorway and take a photo of the room as-is. Looking at it on a screen (instead of in person, where you’re used to it) makes cluttered zones and awkward layouts much easier to spot.
F — Follow Your Flow

Walk through one of your go-to projects, start to finish. What do you reach for first? Then next? Then next?
Those items should live together, in that order, along your natural path — not grouped by category just because it looks tidy on a shelf. This is the same logic behind a well-organized kitchen: cooking utensils by the stove, silverware near the dishwasher. Organize by workflow, not by category.
Your daily-use items (from step R) belong in your “easy reach zone” — roughly between eye level and waist level. Everything else can live higher, lower, or further away. If a system requires moving bins, lifting stacks, or opening three containers just to reach something you use constantly, it won’t stay organized, no matter how nice the bins are.
✨ The Project Bin Trick
Here’s one of the best things you can build into your flow: a dedicated bin, tray, or basket for whatever you’re working on right now. When it’s time to stop — dinner, bedtime, life — everything for that project sweeps into its bin instead of getting scattered across your workspace or half-cleaned-up.Next session, you just pull the bin back out and pick up exactly where you left off. No re-gathering supplies, no losing your place, no “wait, where did I put that.”
This is especially clutch if your craft space doubles as a kitchen table or shared room — the bin lets your project travel with you and disappear the moment you need the space back for something else.
Try this: Next time you’re mid-project, notice what you have to get up and walk across the room for. That’s your biggest flow problem — and your first fix.
T — Take Measurements
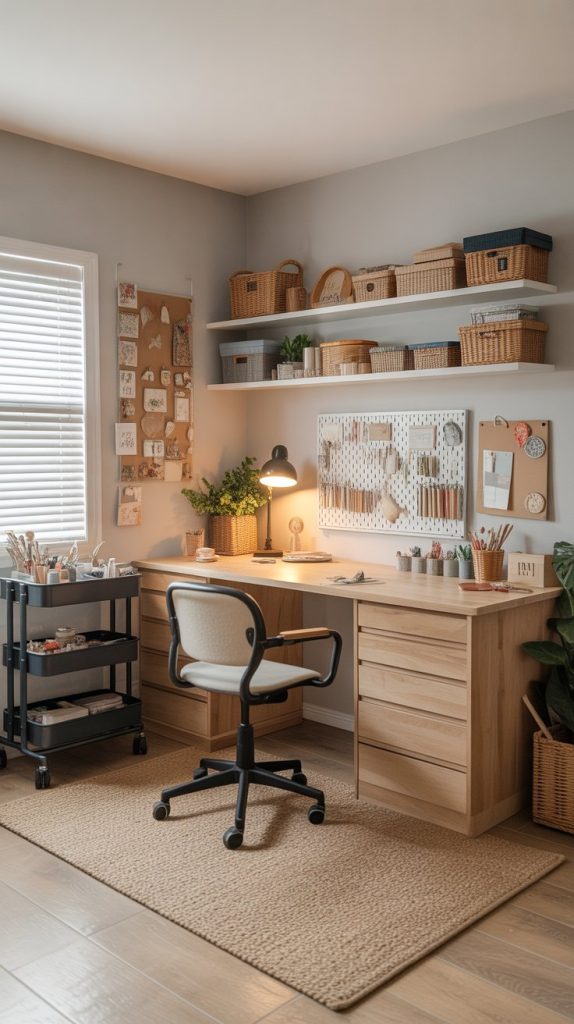
Now — and only now — grab the tape measure.
- Shelf openings
- Drawer interiors
- Wall space
- Desk depth
- Cube or cart dimensions
This is the step most people do first, and it’s exactly why so many organizing hauls end up half-returned. Measure last, and you’re shopping to fit a system you’ve already designed — not designing around whatever bins happened to be on sale.
One more thing before you shop: pick one family of organizers and stick with it. Clear over patterned, one shape/size system throughout your space. It’s calmer to look at, and the pieces will keep working together as your supplies shift over time. And you don’t need to fill every inch — a little empty space is what keeps a system flexible enough to still work six months from now.
Once you’ve been through all five steps, you’ll know exactly what to buy — and usually a lot less of it than you expected.
Curious what this looks like for your specific craft? I’ve broken down the “Follow Your Flow” step (project bin included) for clay work in my Craft Room Ideas for Air Dry Clay Hobbyists posts — more craft-specific guides coming soon for sewing, jewelry, and paper crafts.
Final Thoughts
Taking the time to assess your space might not feel as exciting as choosing colors or styling shelves — but it’s the step that makes everything else feel easier and more joyful. By slowing down and really looking at how you craft, what you use, and how your space functions, you’ve already laid the foundation for a craft room that supports your creativity instead of working against it.
With the strategy done, we’ll shift to the fun part: from function to feeling. We’ll explore color palettes and themes that spark creativity, boost motivation, and make your craft room feel like a place you want to spend time in. From cheerful, energizing colors to softer, calming tones, I’ll help you choose a look that reflects your personality and fuels your creative energy — without feeling overwhelming.
Next up: Part 2 — Color Palettes & Themes That Spark Creativity