Some of the most meaningful gifts I’ve ever given—or received—weren’t the most expensive or elaborate. They were the ones that carried a personal touch: a handwritten detail, a color chosen intentionally, a design that connected to a memory. Personalized home décor gifts offer that same kind of quiet magic. They feel thoughtful and intimate, yet they’re surprisingly simple to create with just a few supplies and a bit of creativity.
Whether you’re crafting something for a close friend, a family member, or a new neighbor, these DIY décor ideas let you tailor every detail—from color palette to message—to reflect the person you’re gifting. And the best part? Each project is approachable, beginner-friendly, and beautifully customizable. Let’s dive into ideas that feel truly special.
1. Custom Painted Picture Frames
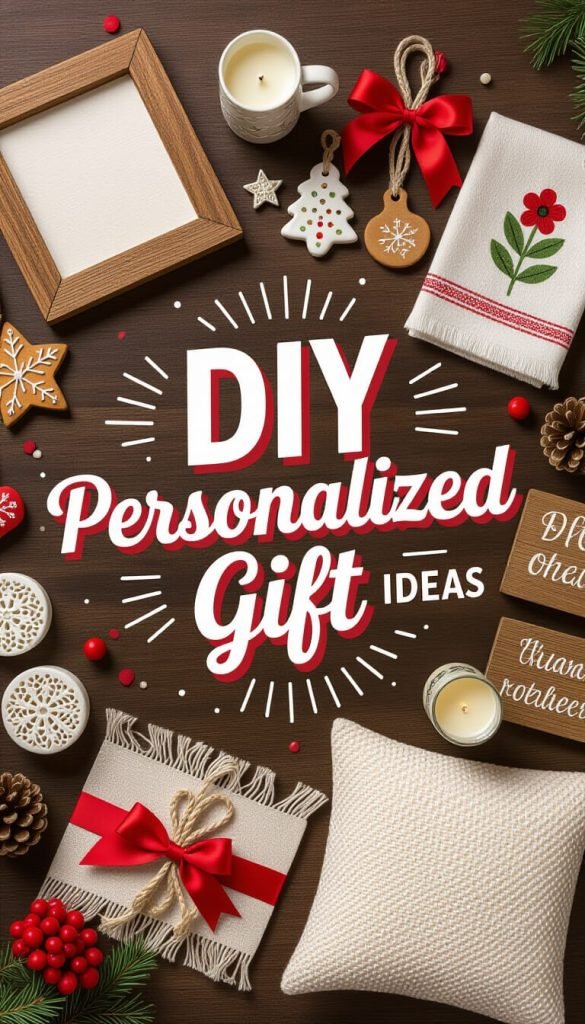
A hand-painted frame is one of the easiest ways to make a simple gift feel incredibly meaningful. You’re not just giving a picture frame—you’re giving a small piece of art that supports the memory you place inside it.
Ways to Personalize Even Further
- Color-match their home: Snap a quick photo of their space and pull a dominant or accent color from the room—navy, sage green, warm ochre, dusty rose.
- Add symbolic or personal motifs:
- Tiny painted hearts for a wedding or anniversary
- Whimsical flowers for someone who loves gardening
- Abstract brushstrokes for minimalist spaces
- Layered finishes: Combine matte paint with glossy detailing, or add subtle gold leafing to the edges for a luxe look.
Try This Styling Idea
Paint the frame in a soft neutral, then add freehand botanical line drawings in white or gold. Slip in a printed quote, such as something meaningful you share with the recipient—this instantly feels curated and sentimental.
Extra Tips
- Use painter’s tape to create clean color-blocked sections.
- A small detail brush helps with lettering or motifs.
- Distressing the edges lightly with sandpaper creates a vintage, worn-in feel.
2. Personalized Ceramic or Clay Ornaments
These little keepsakes feel like tiny heirlooms—perfect for gifting during the holidays but equally charming year-round. They work beautifully as ornaments, shelf décor, tray accents, or even wall hangings.

Customization Ideas
- Initials + year for new homeowners, newlyweds, or new parents.
- Meaningful shapes: stars, houses, hearts, mini arches, or modern organic shapes.
- Nature-inspired textures: Press eucalyptus leaves, lace, or a knit fabric into clay to create subtle patterns that look artisan-made.
- Color stories:
- Neutral coastal: soft whites + sand tones
- Moody winter: charcoal + deep berry
- Cottagecore: pastels + florals
- Playful eclectic: hot pink + turquoise + mustard
More Clay Ornament Details Here!
Gift Presentation Idea
Tie a cluster of two or three ornaments to the top of a wrapped gift—they act as both décor and a keepsake.
Extra Tips
- If using air dry clay, smooth edges with a damp sponge for a polished finish.
- Metallic paint pens are perfect for crisp lines without needing a steady paintbrush hand.
- Seal painted ornaments with matte Mod Podge for a long-lasting finish.
3. Hand-Stamped Tea Towels
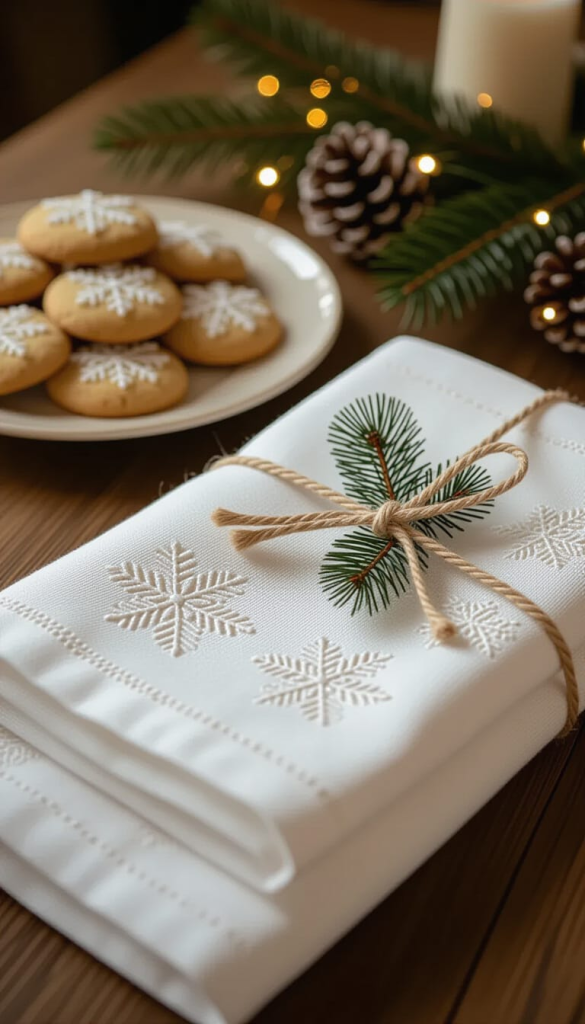
Hand-stamped towels combine artistry with practicality. They make thoughtful gifts for cooks, new homeowners, teachers, and hosts—and they can be styled to fit literally any home aesthetic.
Personalization Directions
- Design with intention:
- Use leaf or herb stamps (basil, rosemary) for someone who loves gardening or cooking.
- Create minimalist, Scandinavian-style repeating patterns using triangles or half-circles.
- Stamp kids’ names or doodles to make grandparent gifts.
- Create a signature set: Choose two coordinating colors and vary the pattern placement on each towel so they feel like a collection.
Crafting Options
- Use rubber stamps you carve yourself for a handmade look.
- Grab natural objects—ferns, citrus halves, sprigs of lavender—to create organic, imperfect patterns.
Styling & Gifting Tips
- Wrap two towels around a loaf of homemade bread or a bottle of olive oil.
- Roll the towels and bundle them with kitchen twine and a wooden spoon.
- Include a small tag describing the meaning behind your chosen pattern or colors.
Extra Tips
- Always pre-wash your towels to remove sizing so the ink adheres properly.
- Place cardboard under the fabric to prevent ink bleed.
- For crisp geometric patterns, tape off sections with painter’s tape before stamping.
4. Personalized Candle Jar
A candle becomes a truly memorable gift when you add intentional details to the jar, label, or scent profile. Even a simple store-bought candle can feel custom-made with a few thoughtful touches.
Ways to Personalize the Jar
- Create a custom label:
Print a minimalist-style label with the recipient’s name, a short phrase (“Cozy Evenings Ahead,” “You Are Loved”), or a meaningful date. - Add etched or frosted designs:
Use glass-etching cream or adhesive stencils to create subtle monograms, stars, florals, or geometric borders. - Wrap the vessel:
Add twine, velvet ribbon, a strip of patterned fabric, or a thin band of gold foil tape around the top for a polished finish.
Choose a Scent With Meaning
- Lavender + sage for someone who craves calm
- Spiced orange or cedarwood for cozy winter vibes
- Vanilla + almond for bakers
- Citrus + mint for bright, clean kitchen energy
Creative Presentation Ideas
Place the candle on a small wooden tray, add matches in a coordinating glass jar, or wrap everything together in a sheer gift bag. This instantly elevates the gift into a small decorative moment they can display.
Extra Tips
- If you’re pouring your own candle, use soy wax to avoid soot and ensure a clean burn.
- When applying printed labels, clean the jar with rubbing alcohol first for better adhesion.
- For scent layering, blend oils sparingly—too much fragrance can overwhelm the wax.
More DIY Holiday Candle Details Here!
5. Custom Wood Signs
Hand-crafted signs are versatile gifts that fit nearly any décor style. They work beautifully in entryways, kitchens, nurseries, coffee bars, or gallery walls.
Personalization Ideas
- Family names & established dates: Perfect for weddings or housewarmings.
- Coordinates or hometown references: A meaningful, modern touch for travelers or sentimental recipients.
- Inspirational or playful quotes: “Gather Here,” “Stay Awhile,” “Let’s Bake Something.”
- Painterly illustrations: Florals, simple line art, mountains, or a cluster of stars for a softer, artistic feel.
Style Directions
- Rustic: Stain the wood, then add white or black lettering.
- Modern organic: Use a creamy neutral background with soft, hand-drawn motifs.
- Eclectic/colorful: Layer bright paints, imperfect brushstrokes, or pattern play.
Beginner-Friendly Design Techniques
- Use carbon transfer paper or the chalk transfer method to outline letters without freehanding.
- Pre-made stencils ensure crisp shapes and save time.
- Tape edges to create clean borders or color-blocked backgrounds.
Finishing Touches
- Add sawtooth hangers or jute twine depending on the look you want.
- Seal everything with matte polyurethane to protect the paint from scratches and dust.
- Pair the sign with a small easel for tabletop display.
6. Personalized Throw Pillow Covers
Decorative pillow covers are cozy, practical, and endlessly customizable. Whether you use paint, stamps, embroidery, or iron-on vinyl, this gift feels like a thoughtful addition to someone’s home.
Design Ideas
- Names, dates, or initials: Modern and minimal for living rooms or bedrooms.
- Hand-drawn line art: Florals, houses, stars, abstract faces, or simple geometric shapes.
- Seasonal or themed elements: Evergreen branches for winter, lemons for kitchens, pumpkins for fall.
- Coordinates or meaningful locations: Works especially well in entryways or home offices.
Crafting Techniques
- Fabric paint or markers: Great for freehand designs, doodles, or lettering.
- Iron-on vinyl (HTV): Ideal for crisp, precise typography or shapes.
- Embroidery: Add small stitched accents—stars, initials, or borders—for a handmade, heirloom feel.
- Block stamping: Repeat a single stamped element for a pattern that looks designer-quality.
Tips for a Polished Look
- Insert cardboard inside the cover to prevent bleed-through while painting.
- If using HTV, preheat the fabric and apply even pressure for best adhesion.
- For embroidery, trace your design with a washable pen before stitching.
- Stick to two or three colors in one design to keep it cohesive.
Gift Styling Idea
Place the finished cover over a plush pillow insert, add a decorative ribbon, and attach a little card explaining the design’s meaning. This makes the gift feel curated and personal—almost boutique-style.
FAQ
What’s the easiest personalized décor gift for beginners?
Hand-stamped tea towels and painted picture frames are great starting points. They require minimal supplies, offer plenty of room for creativity, and are forgiving if you make small mistakes along the way.
How do I choose colors that will fit the recipient’s home?
Pay attention to the tones they naturally gravitate toward—warm woods, cool grays, bold color pops, soft neutrals, etc. If you’ve visited their home, look for repeating colors in rugs, artwork, pillows, or wall accents. When in doubt, neutrals like cream, charcoal, navy, and soft sage blend well with most décor styles.
What if I’m not confident in my lettering or drawing skills?
You don’t need perfect handwriting to create beautiful gifts. Use stencils, letter stamps, printable labels, or iron-on vinyl for clean, polished results. For clay or wood projects, carbon transfer paper helps outline designs before painting.
How do I make these gifts feel even more special?
Add a small story or explanation with the gift. For example:
- Why you chose the color palette
- The meaning behind a stamped pattern
- A quote included for a reason
These small notes elevate the entire experience and help the recipient connect deeply with your gift.
Can personalized décor gifts look “professional” even if I’m a beginner?
Absolutely. High-quality materials make a big difference—think linen towels, wooden frames, premium ribbons, or soy candles. Keeping the design simple and cohesive often feels more elevated than trying something ornate.
Are there budget-friendly options that still feel meaningful?
Yes! Many of these projects use inexpensive blanks like wood rounds, basic picture frames, or cotton towels. Personalization—through paint, stamps, ribbons, or labels—is what adds value. It’s entirely possible to make a high-impact gift for under $10.
What’s the best way to package handmade décor gifts?
Presentation matters. Use kraft boxes, tissue paper, ribbon, or simple linen bags. Add a handwritten tag or small sprig of greenery. For kitchen-themed gifts, bundle items in a basket or wrap fabric around them for a cozy touch.
How far in advance should I make these gifts?
Clay ornaments, painted items, and wood signs can be crafted weeks ahead. For candles, allow at least 48 hours for the wax to cure. Fabric-based projects (like stamped towels or pillow covers) can be done anytime but should dry completely before wrapping.
More Thoughtful Christmas Gift Ideas

White Elephant Gift Exchange Ideas That Steal the Show
How to Create Personalized Home Decor Gifts That Feel Extra Special
Handmade Mug Craft Ideas for Personalized Christmas Gifts
10 Elegant DIY Gift Wrapping Ideas Using Simple Materials
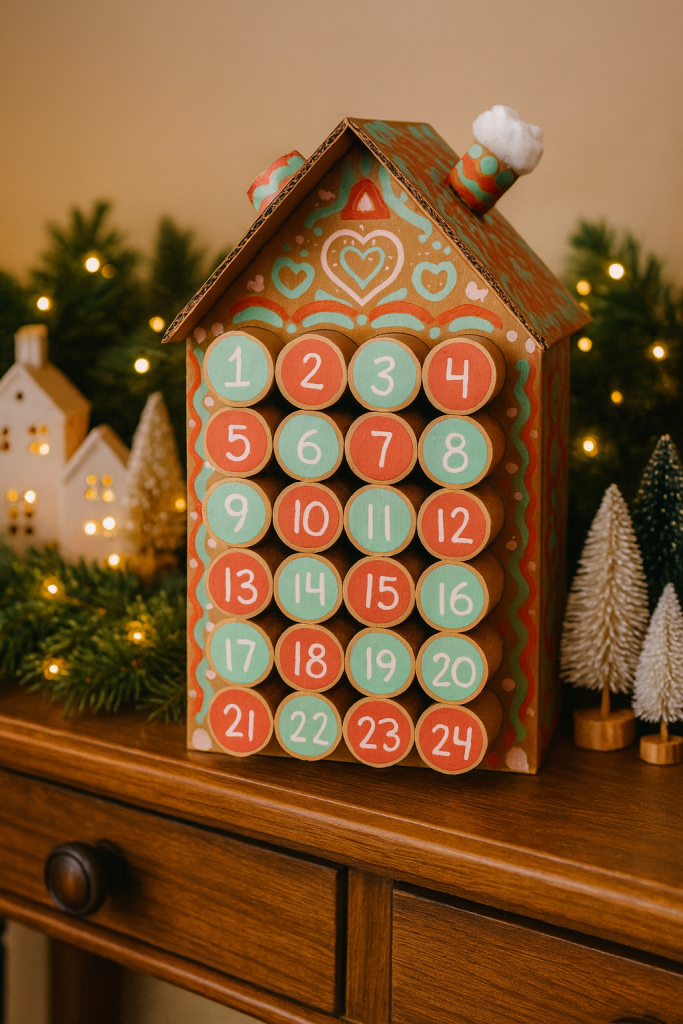
DIY Advent Calendar Ideas for a Beautiful Countdown to Christmas